- Longtail Lane
- Posts
- From Gift Wrap to Gallery Wall: How to Turn a Memory into Art
From Gift Wrap to Gallery Wall: How to Turn a Memory into Art
DIY: From Wrapping Paper to Wall Art
Mariann Morell
August 17, 2025
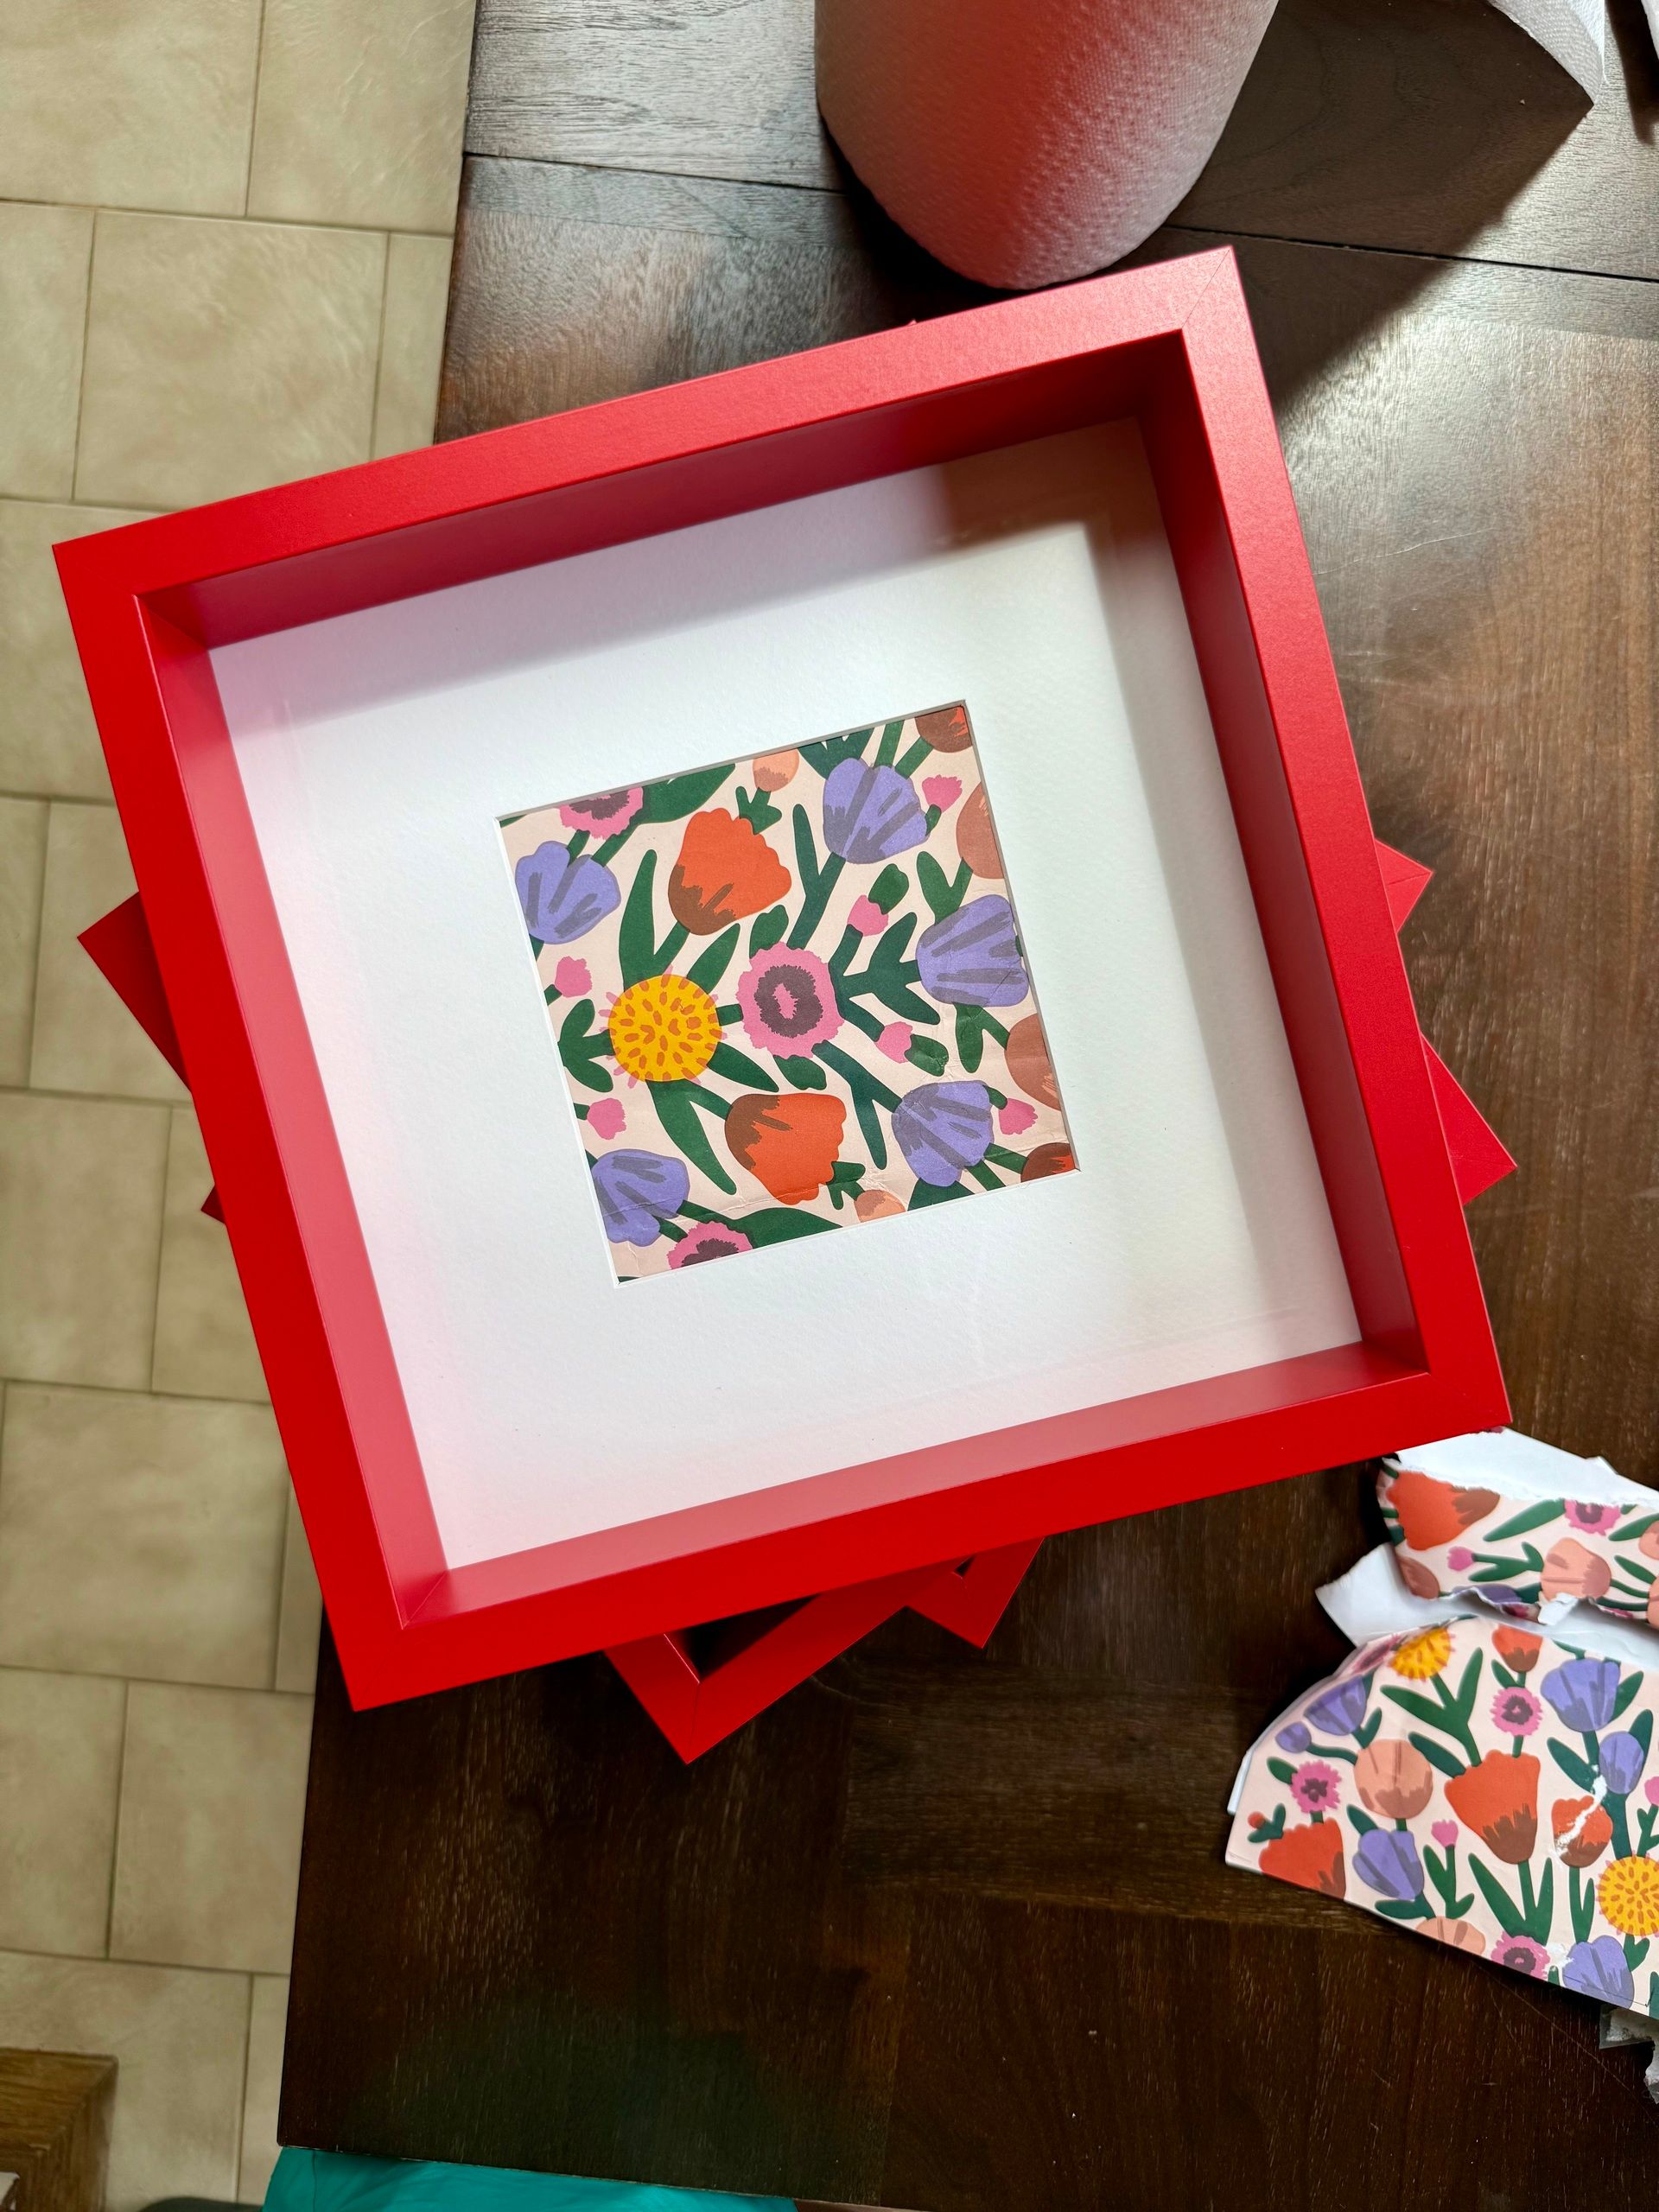
Have you ever received a gift wrapped in paper so beautiful, you just couldn't bring yourself to toss it? That was our dilemma recently when my daughter received a gift with the most stunning wrapping paper. It felt like a waste to just crumple it up and throw it away. So, instead of letting it become landfill, we decided to give it a new life as a personalized gallery wall for her room.
This project was more than just a craft; it was a way to turn a fleeting memory—the joy of receiving a gift—into a tangible piece of art we could enjoy every day. The process was simple, fun, and a perfect activity to do with kids.
Step-by-Step: Turning Wrapping Paper into Wall Art
Here's a look at the simple steps we took to create a beautiful, custom art piece for her room. You can apply this same method to old greeting cards, wallpaper samples, or any decorative paper you love!
1. Gather and Prepare Your Paper
The first step is to gently unfold the wrapping paper and smooth it out. If it has creases, you can place it under a heavy book for a day or two to help it flatten. Don't worry about minor imperfections; they'll add to the character of the finished piece.
2. Find the Perfect Frames
This is where you get to play with design. We found some simple, statement frames that would let the paper be the star. A big thank you to IKEA (shop the exact ones I used here) for their great selection of affordable frames! Matching sizes create a cohesive look, but a mix of different sizes can also be a lot of fun.
3. Measure, Mark, and Cut
Once you've disassembled the frames, take a moment to plan your layout. Decide which parts of the paper you want to highlight in each frame. This is a crucial step—and a great opportunity to teach kids about measuring! As the old saying goes, measure three (ok they say 2 but to be sure…) times, cut once. It's always worth the extra effort to get a perfect fit. Carefully mark your cutting lines with a pencil, then use a sharp pair of scissors or a craft knife to cut out your sections.
Now for a personal touch. After you've cut your paper, place it on the frame board and use a few small pieces of double-sided tape or clear tape to secure it in place. Before you reassemble the frame, take a pen and write a little note on the back of the paper. We jotted down the date and the occasion, turning the art into a hidden keepsake. This adds a layer of memory that makes the art even more special.
5. Hang Your Masterpiece
Reassembling the frames can sometimes be a bit of a puzzle, especially with those metal prongs. We found a clever trick: the back of a flat butter knife or a thin spoon works wonders for gently pushing the prongs back down to secure the frame. Once everything is in place, all that's left is to hang your beautiful, personalized art and enjoy the transformation!
This simple DIY project shows that you don't need expensive supplies to create something meaningful and beautiful. It's about seeing the potential in what you already have and turning a memory into a piece of art.
What's a creative way you've repurposed something recently? Let me know in the comments!
Reply